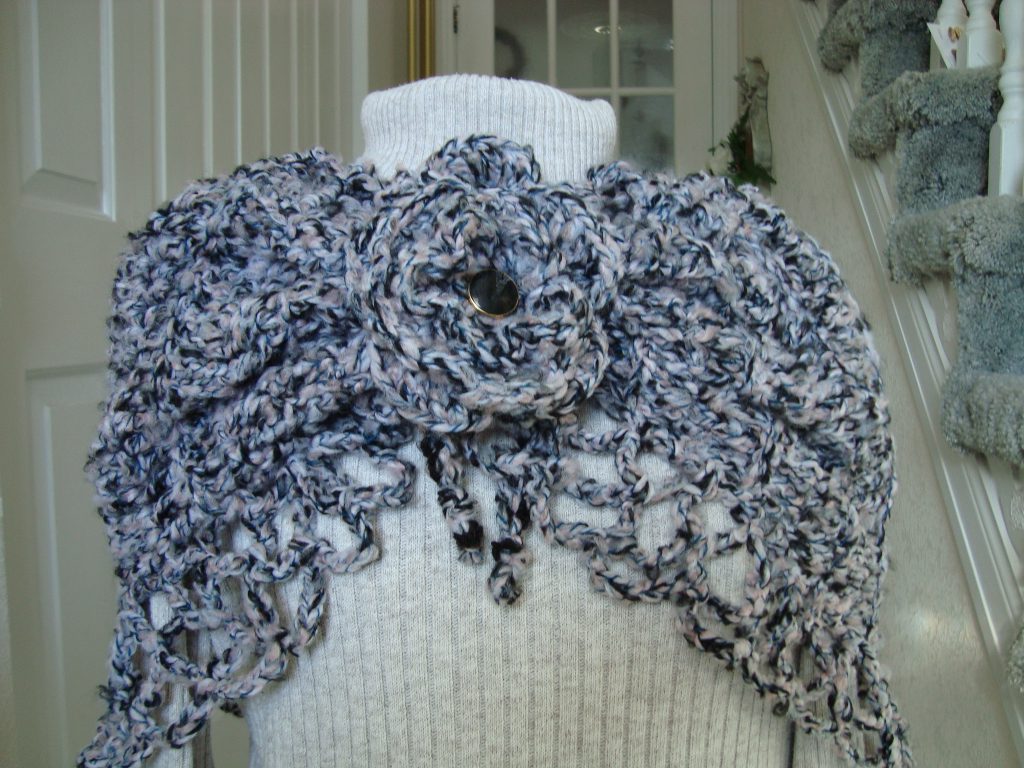
If you’ve ever tried your hand at felting, you should know how addictive this art form is. Needle felting is also very popular and addictive. Unlike with wet felting, this is a dry felting process that uses needles or a barbed tool to fuse another layer of fiber onto a base piece of felt. It is usually used to add extra felted embellishments to larger objects, and can be used to create complex designs and shapes. This is a great way to spruce up felted bags, hats, blankets, and other big projects to keep them from being too plain. Anyone can try their hand at needle felting; all it takes are a few tools and a little practice.
Tools Needed for Needle Felting
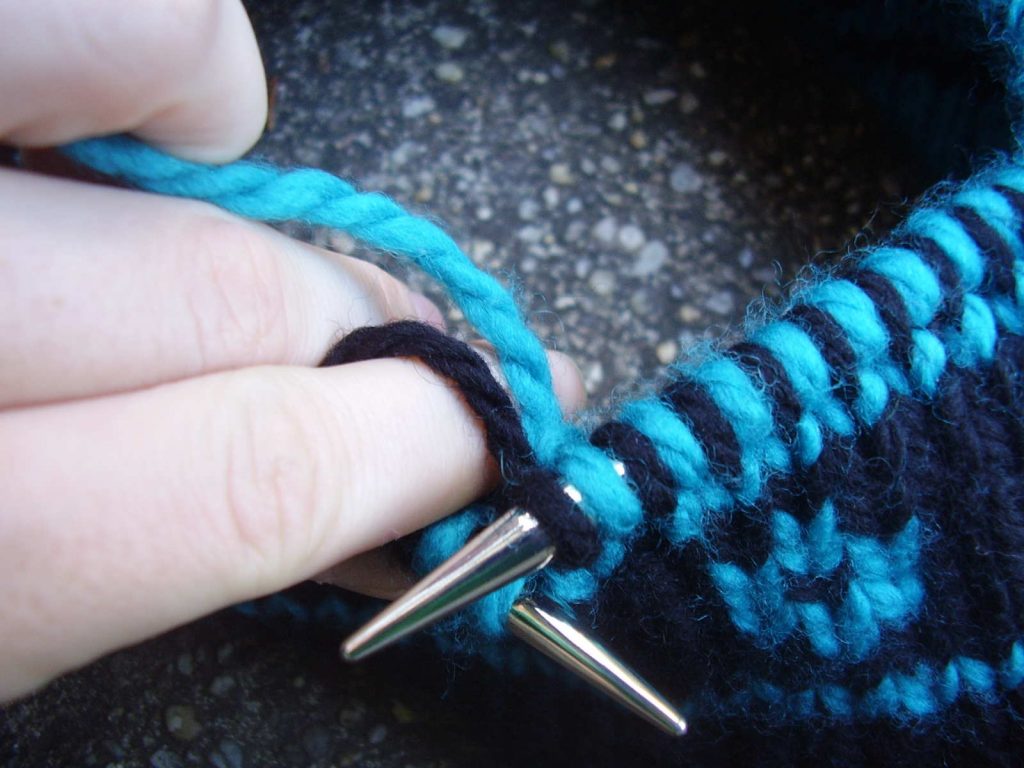
There aren’t too many tools you need for needle felting, and the few you need won’t break the bank. The first thing you need is a needle-felting tool, which is a tool with multiple needles on the end, or just a single needle. You also need a needle felting brush or a piece of foam. This allows the needles to go through the fabric without damaging the surface underneath. In addition to these tools, you need wool yarn or wool roving as well as the felted fabric you’re using as your base. This can be whatever project you want to embellish, but it’s probably best to start with something small and easy like a potholder until you get the hang of it. It would be no fun to go through the time and effort of knitting and then felting a beautiful, time consuming piece only to mess it up because you’ve never practiced needle felting until that moment. Like everything else, get plenty of practice before you try it on something important!

How to Needle Felt
Once you have all of your supplies together, you can begin needle felting. The process is pretty easy, although time consuming. The first thing you want to do is decide on a design, whether it be a single strip across the fabric, a star, polka dots, a heart, or any other design you want to make. It’s best to start with something simple while you get the hang of it. Once you’ve chosen your design and laid it out on your fabric, put the base fabric on your brush or foam and begin working in small sections by tearing your roving or cutting your yarn and placing it down in your design. You then use your needle felting tool or single needle over the design using a straight up and down motion. Be sure to keep your workspace towards the center of the brush, so that you don’t slip and damage your surface or the needles on accident. It should also go without saying that these needles are sharp, so keep them away from your body.
As you work on your design, start by using less roving, and add more later if it’s needed. Just slowly work your tool in an up and down motion as often as you need for the fibers to fuse, moving on to a new section as you finish up each section. It’s sort of a personal preference to know when your felting is done, but a safe way to tell is by looking at the under side of your base fabric. Once there is a consistent amount of fabric peaking through the base fabric, it’s safe to say the work is complete.
You can do as much or as little felted embellishment on your project as you want. Some crafters choose to put a single stripe across a potholder; others create a design to use all over the fabric such as polka dots or a photo. What you choose to add to your project is up to you. You can customize this art form based on your own creativity and patience, which is why it is such a great way to personalize your work. With a couple of simple tools, a little roving, and the patience to learn a new craft, you can learn all about the addictive process of needle felting and expand on your fiber knowledge.